![]()
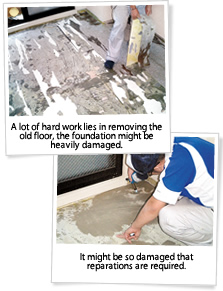
As can be seen in the photos removing the old floor can be a hard and tedious work.
In some cases it can also have been installed using adhesives containing urethane or epoxy which might have damaged the subfloor. This can lead to some extra reparations so please prepare the necessary equipment in advance.
|
● |
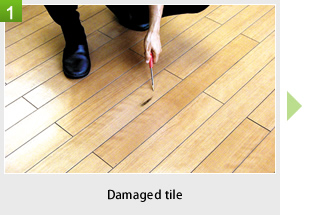
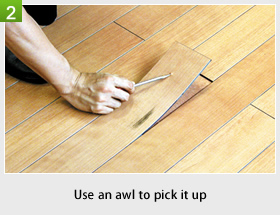
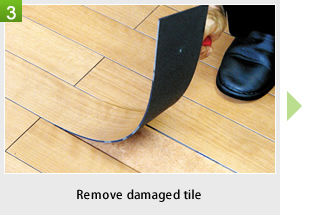
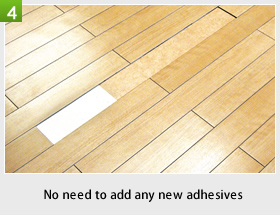
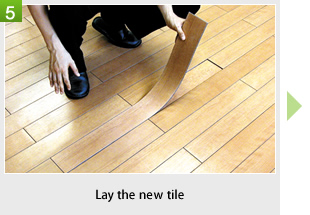
Easy to change just one tile if it gets dirty or damaged which saves time and money. |
|
● |
Cheap and easy to change the layout of a room. |
|
● |
Make sure that the floor is properly fastened by applying pressure all over it after the installation. |
|
● |
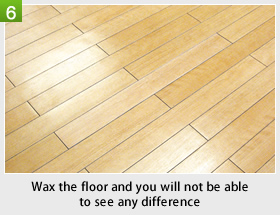
Apply resin wax 2-3 times after installation in order to improve the luster. |
|
● |
Apply wax all over the floor after changing a tile in order to get the same luster all over the floor. |
|
● |
Before starting, make sure that the sub floor is even. |
|
● |
Reinforce the foundation if there is any need for it. |
|
● |
Watch out for damages on the underlying floor since this might affect the performance of the final product. |
|
● |
Make sure that the finished floor is perfectly stable everywhere before applying resin wax to it 2-3 times. |

|
● |
By putting it on the previous flooring you can reduce the construction time and waste. |
|
● |
Fill out any unevenness in the old flooring to prevent damages and secure a smooth surface on your new floor. |
|
● |
If the previous flooring is not water absorbent, make sure that the temperature is over 15℃ and |
● |
If the old floor is in bad shape it should be removed before construction in order to prevent unevenness or damage on your new floor. |
● |
It is not recommended to install it on an old floor with emboss since there is a chance for it to affect the look of your new floor. |
|
● |
Make sure that the floor is perfectly stable and safely fastenned everywhere before applying resin wax to it 2-3 times. |
● |
There is a risk that the aging of the old floor can cause the floor to separate or effect the new floor in other ways. |
● |
Depending on the state of the old floor, placing heavy objects, such as refrigerators, on it can cause indentations. |

|
● |
Make sure that the subfloor is dry (less than 8% moisture content) before applying adhesives, if the adhesives gets wet they won`t be as effective. |
|
● |
Any wax, oil etc. remaining on the floor can cause discolouration and reduce the effect of the adhesives. |
|
● |
Make sure the foundation is even before applying adhesives. |
● |
Use a notched edge spreader when applying the adhesives to spread it out properly and create small humps. |
● |
Wait for the adhesives to dry (become slightly transparent), this may take a few hours. |
|
● |
If you attach the tiles before the adhesives have dried there is a chance of it coming up from the gap between the tiles. The same can happen if you use to much adhesives, it will also take a longer time for it to dry. |
● |
The recommended amount of adhesives to use is 0.10-0.15 kg/m2, but may vary depending on the subfloor and brand of adhesives. |
● |
Don`t apply the adhesives with a roller. |
● |
Keep the room temperature at 15-35℃ during construction, also leave a small gap near the wall since the tiles can expand at high temperatures. |
● |
If you install the floor at a temperature under 15℃ there is a risk the floor will expand, please use the attached perforation paper as a spacer at that time. |
● |
Avoid construction if the room temperature is below 5℃. |

|
● |
The product contains glassfiber in order to provide dimensional stability. Please make sure that it has been properly cut before breaking the tile. |
|
● |
Make sure the parts near the walls are not to hardly fastened and leave a gap of 1-2mm to the wall since the tiles might expand. |
● |
In some cases renovation is unavoidable in order to remove the skirting board, in these cases remove as few tiles as possible. |
● |
Fill any visible gaps with caulk. |
